iPhone storage fills up fast, and most people don’t replace their smartphones for storage issues alone. Backing up photos is a smart way to free space while keeping memories safe.
Flash drives offer an excellent solution—portable, private, and easy to use. No internet needed, no monthly fees.
Several methods are available: with or without a computer, using built-in iOS tools, cloud syncing, or third-party apps. Flexibility depends on your tech setup and how hands-on you want to get.
Preparing for the Transfer
Skipping preparation is the fastest way to run into errors when transferring photos from an iPhone to a flash drive. A little setup makes the process more efficient and prevents issues like failed connections, unrecognized devices, or corrupted files.
Instead of plugging things in and hoping for the best, take a few minutes to ensure everything is ready.
Start by confirming that your flash drive has enough space. Photos—especially those in high resolution or Live Photo format—can consume gigabytes quickly. If you’re transferring videos along with still images, space requirements will increase substantially.
Next, make sure your flash drive is formatted properly. Apple devices often reject file systems they can’t read, and that leads to frustrating trial-and-error. Use FAT32 or exFAT, both of which are compatible with macOS and Windows.
Avoid formats like NTFS, which may not work well with iOS and can prevent writing new files.
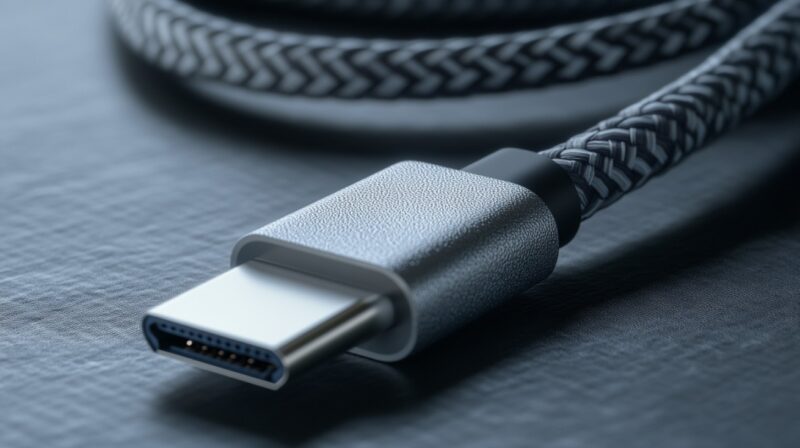
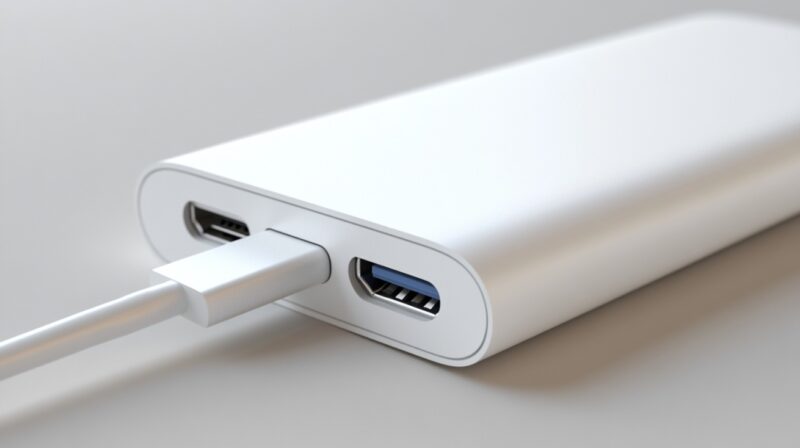
Connection quality depends entirely on using the correct adapter or cable.
- USB-A: Works with most older Windows desktops and laptops.
- USB-C: Used with newer Macs, iPads, and flash drives built for cross-device support.
- Lightning OTG (On-The-Go): Allows flash drives to plug directly into an iPhone. Make sure it’s MFi-certified for reliability.
Before connecting anything, unlock your iPhone and keep it awake. Once you plug in the cable, a message should appear asking if you trust the connected device.
Tap “Trust,” and enter your passcode. Failing to do this will leave your device unreadable on the computer or flash drive app.
- Available space on the flash drive.
- Proper formatting using FAT32 or exFAT.
- Correct adapter or cable for compatibility.
- Trusted device prompt on your iPhone.
Transfer Methods Using a Computer
Transferring photos with a computer gives you more control, better visibility, and the ability to move large batches of files efficiently.
It’s ideal for users who want to organize their images into folders, rename files during transfer, or perform edits right after moving photos.
Several built-in tools on Windows and macOS make the entire process fairly straightforward.
Using Windows Photos App
Perfect for those who prefer a visual, guided interface. The Photos app included with Windows offers a step-by-step import wizard that takes the guesswork out of the process.
- Connect your iPhone and USB flash drive to the PC using appropriate cables.
- Open the Photos app from the Start menu.
- Click on Import in the top right corner.
- Select From a USB device when prompted.
- Allow the app to detect your iPhone. It may take a few seconds.
- Choose the images you want to import or hit Select All.
- Click Import to bring the photos into the default Pictures folder on your PC.
- Open File Explorer, locate the newly imported images, and copy-paste them to your USB flash drive.
Highlights of using Windows Photos App:
- Clean interface suitable for beginners.
- Ability to preview thumbnails before transferring.
- Easy batch selection.
Useful for users who prefer structured transfers with minimal manual file handling.
Using Windows File Explorer (DCIM Folder)
More direct and faster, this method skips all software and gets straight to the raw file transfer.
Photos stored on the iPhone appear under the DCIM folder, much like a digital camera’s storage.
- Plug your iPhone and flash drive into the PC.
- Launch File Explorer.
- Navigate to This PC → Apple iPhone → Internal Storage → DCIM.
- Open the folder(s) labeled 100APPLE, 101APPLE, or similar. These contain your photo files.
- Select the images or folders you wish to transfer.
- Drag and drop them directly into your USB flash drive’s folder.
Benefits of this method:
- Fast access without extra apps.
- Easy to sort and move only selected files.
- Great for power users managing large libraries.
Troubleshooting tips if DCIM appears empty:
- Trust prompt not accepted: Reconnect your iPhone and tap Trust on the popup.
- Faulty or charge-only cable: Use a data-capable Lightning cable.
- Outdated iOS or Windows drivers: Ensure both systems are updated to the latest version.
Works best when you want full manual control over which files are being moved and how they are stored.
Using macOS Image Capture
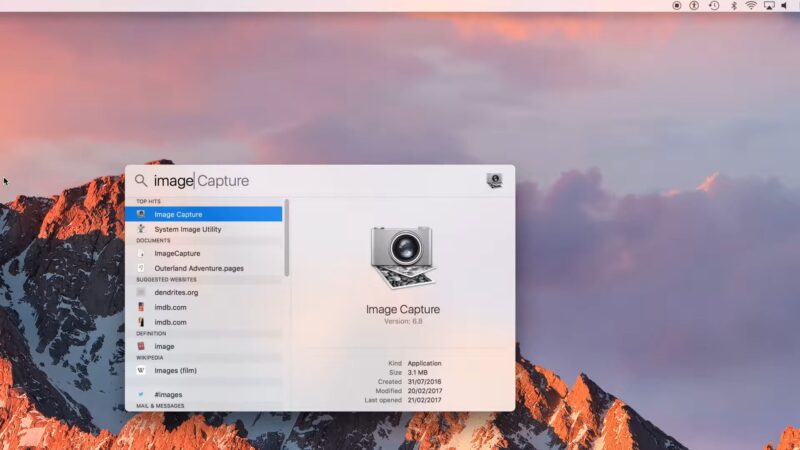
Apple’s Image Capture app offers a reliable way for Mac users to transfer photos without relying on iCloud or the Photos app. It’s a simple utility often overlooked, yet extremely useful.
- Connect your iPhone and flash drive to your Mac.
- Open Image Capture (find it in Applications or via Spotlight).
- Select your iPhone in the left-hand device list.
- Set the destination folder to your USB flash drive.
- Choose between Import All or manually select images for transfer.
- Click Import and wait for the files to be copied.
Transfer Methods Without a Computer
Sometimes, using a computer isn’t an option—you’re on the move, or the laptop’s not available. Fortunately, modern iPhones and flash drives support direct transfers with the right tools.
These mobile-only methods rely on adapters or specially designed USB drives that connect straight to the phone. Success depends on having compatible accessories and properly formatted drives.
Two reliable approaches are discussed below, with bullet points summarizing key steps and considerations.
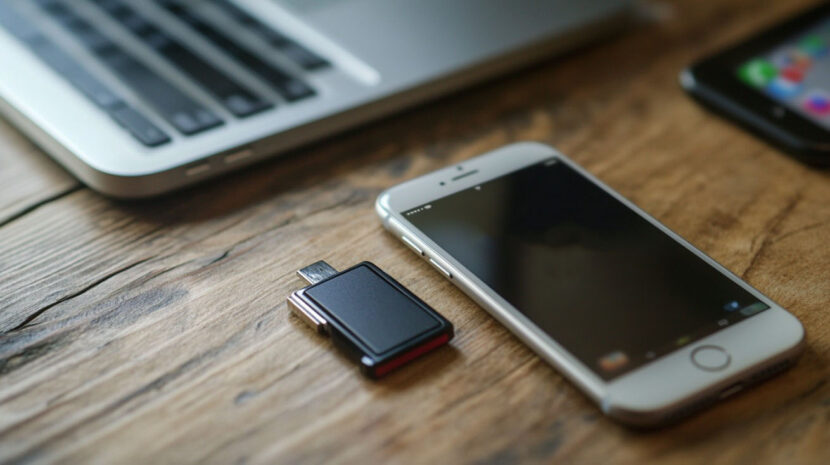
Using OTG or Lightning-to-USB Adapter
Adapters give your iPhone the ports it doesn’t have. A Lightning-to-USB or USB-C OTG adapter creates a physical connection between the iPhone and the flash drive, allowing basic file operations without needing Wi-Fi or a laptop.
- Use a Lightning-to-USB adapter for older iPhones or USB-C OTG adapter for newer models like the iPhone 15.
- Plug in your flash drive once the adapter is connected.
- Unlock your iPhone and respond to any prompts about allowing the device.
- Open the Photos app, select desired photos.
- Tap Share, then choose Save to Files.
- Under Files, select your flash drive as the destination.
Key points to watch:
- iOS supports only specific drive formats like exFAT or FAT32.
- Drives requiring more power than the iPhone can supply may not mount at all.
- A powered USB hub can help connect larger or older USB drives.
Using a Dual-Connector Flash Drive (e.g., SanDisk iXpand)
Dual-connector flash drives come with one end for iPhones and the other for computers.
Brands like SanDisk, Kingston, and PNY offer drives with both Lightning and USB-A or USB-C ports. No need for adapters—just plug it in and let the custom app handle the rest.
- Download and install the drive’s companion app (e.g., SanDisk iXpand Drive) via the App Store.
- Plug the flash drive into the iPhone. If prompted, grant permission for the app to access your files.
- Open the app and navigate to the Photos section.
- Choose images for backup and tap Transfer to begin copying files to the flash drive.
Benefits of this method include:
- Direct access to internal storage via app interface.
- Faster transfers compared to using cloud sync or email.
- Automatic folder creation and media categorization in some apps.
The Bottom Line
Choose your transfer method based on what gear you have and how comfortable you are with tech.
- Label folders by event or date.
- Create subfolders for locations or people if needed.
Using a flash drive not only frees up iPhone space but also keeps personal images offline and private. Back up often—your memories deserve more than being stuck on a phone that’s one fall away from being toast.